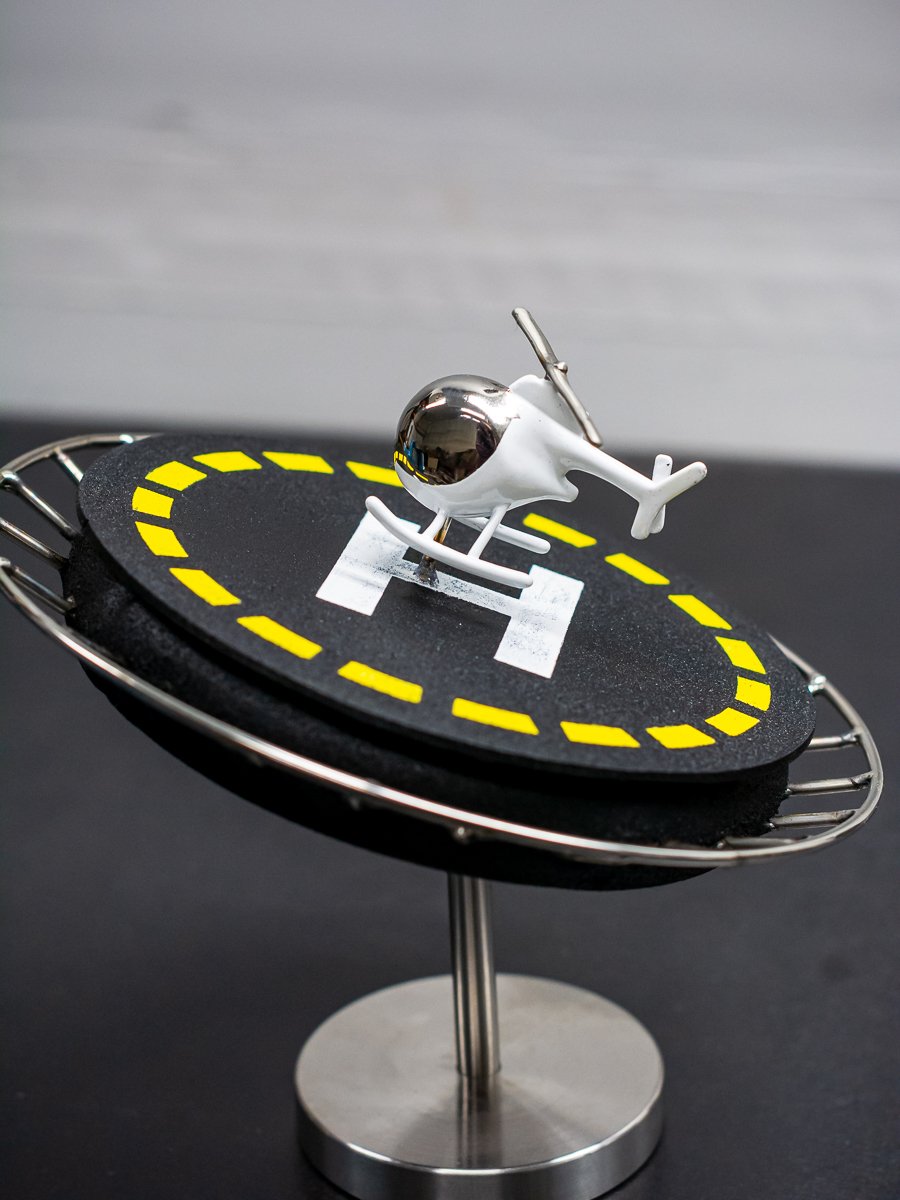
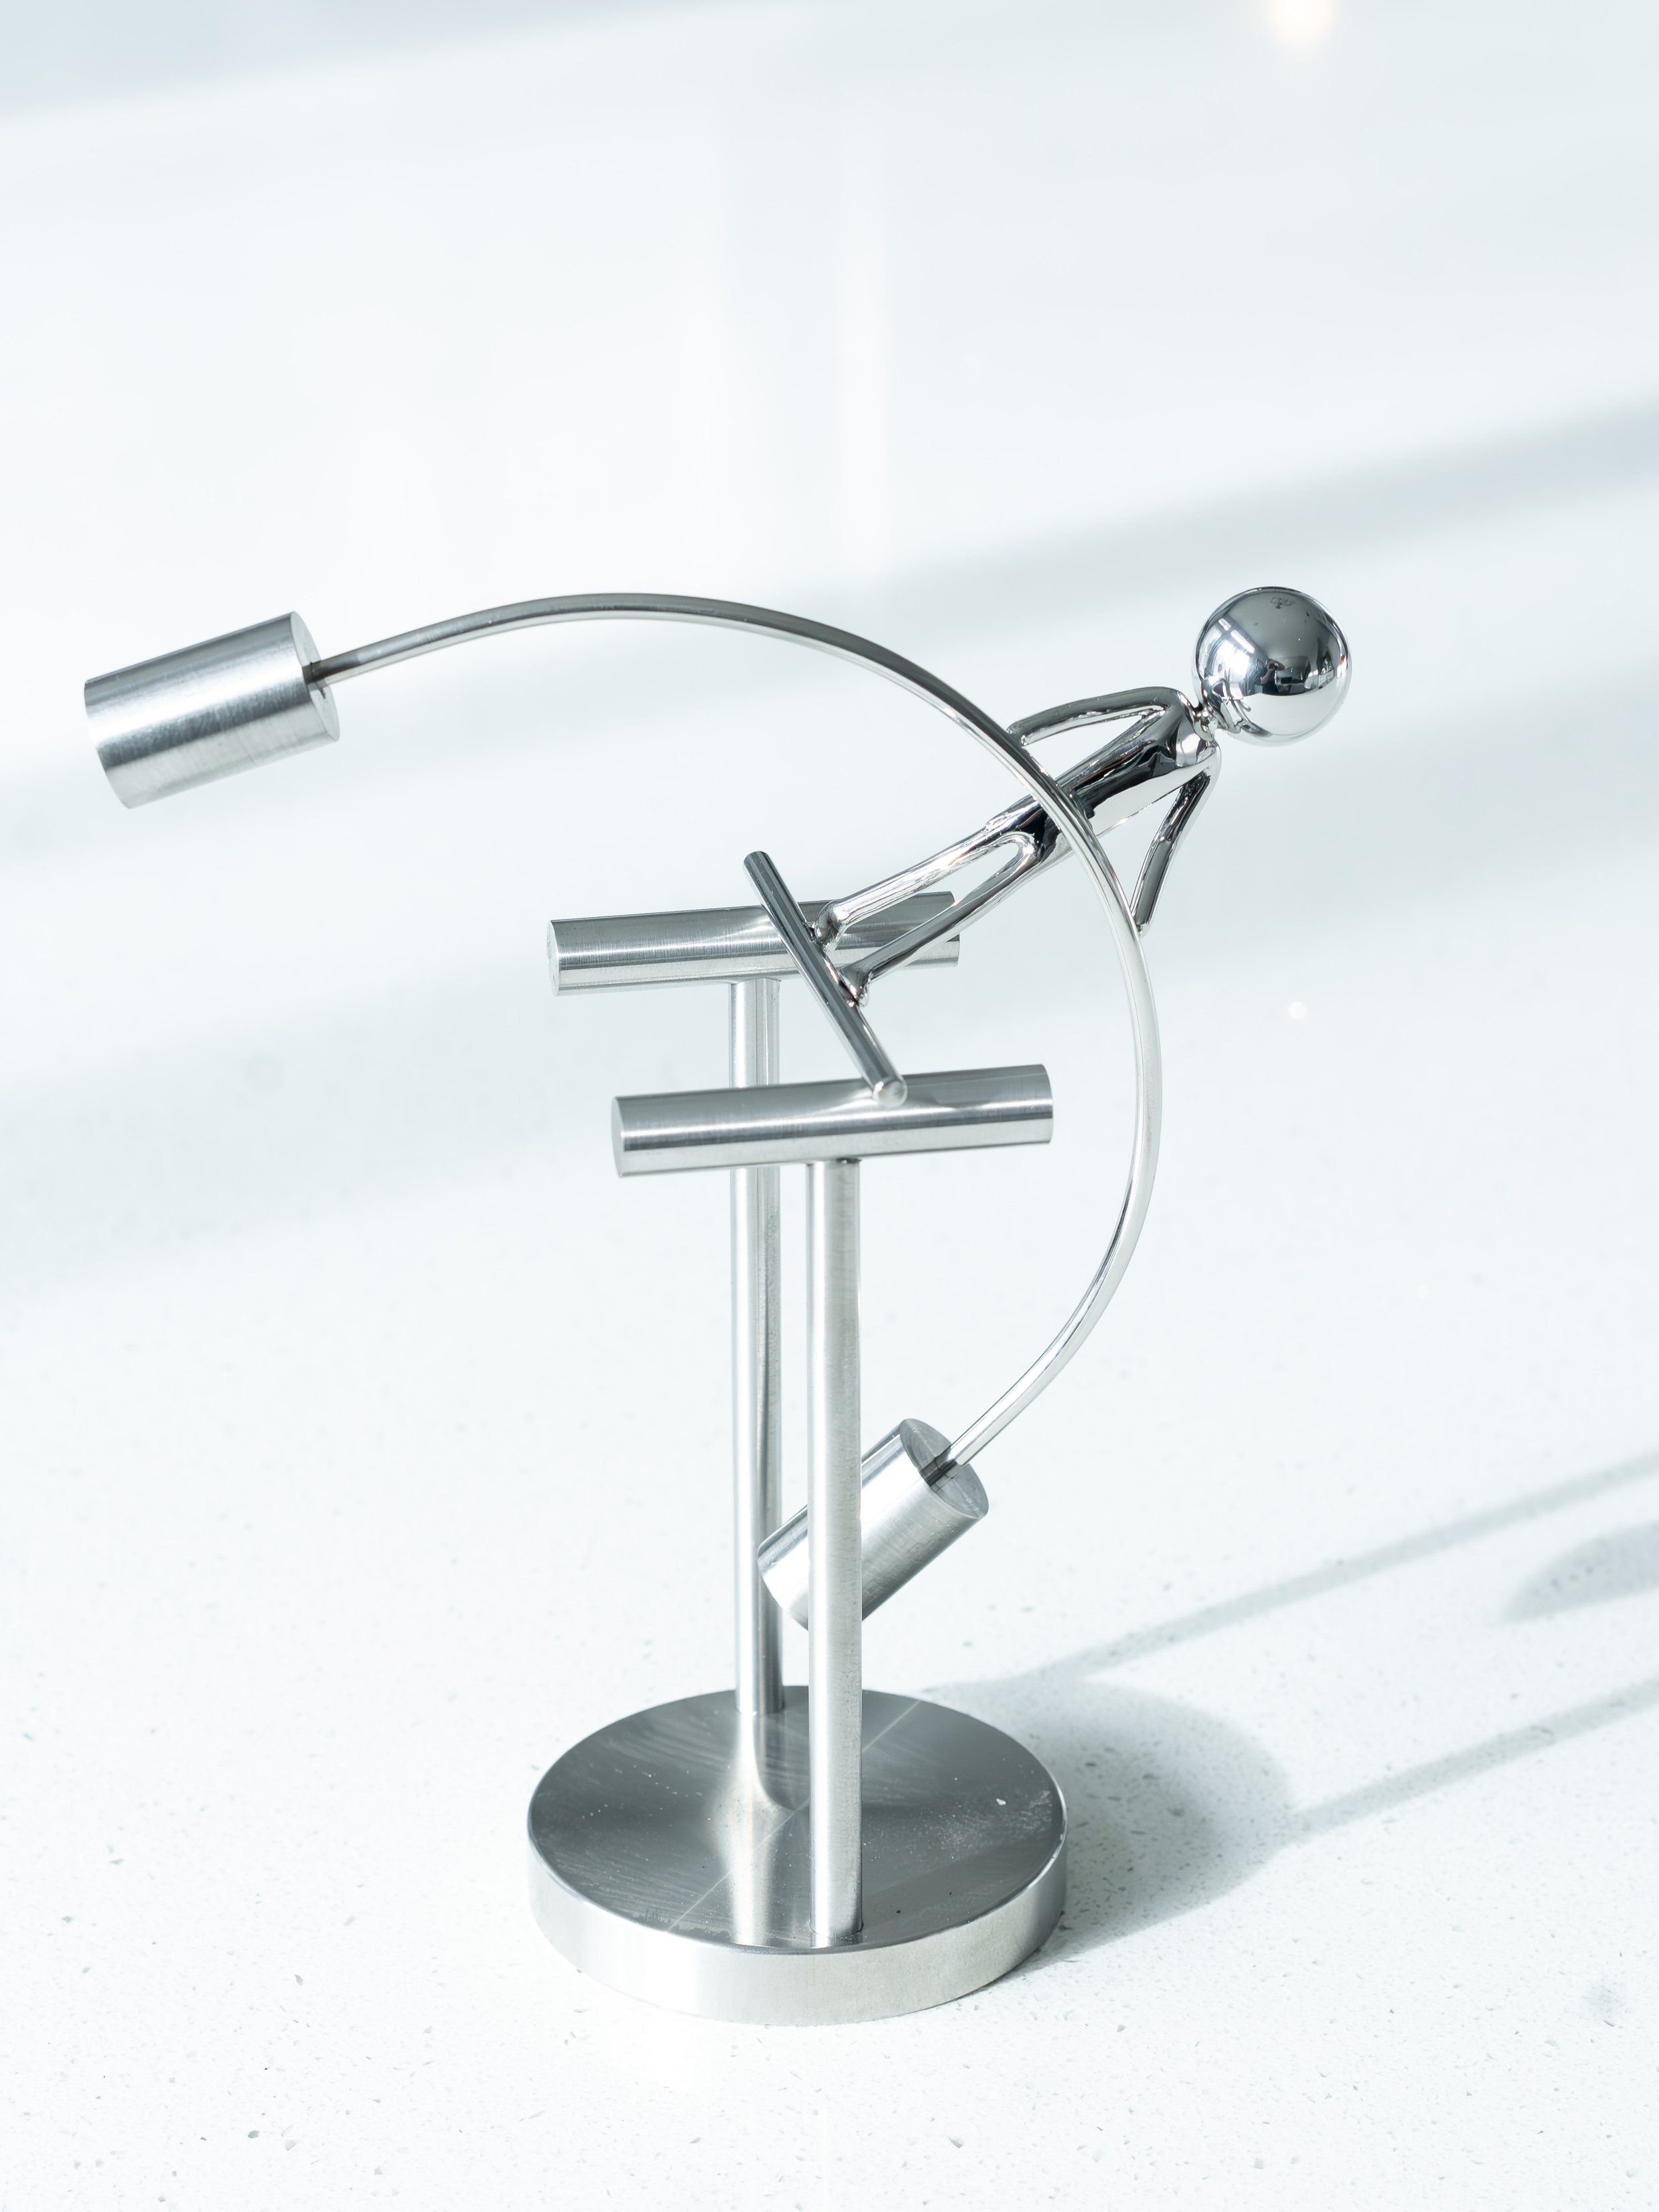
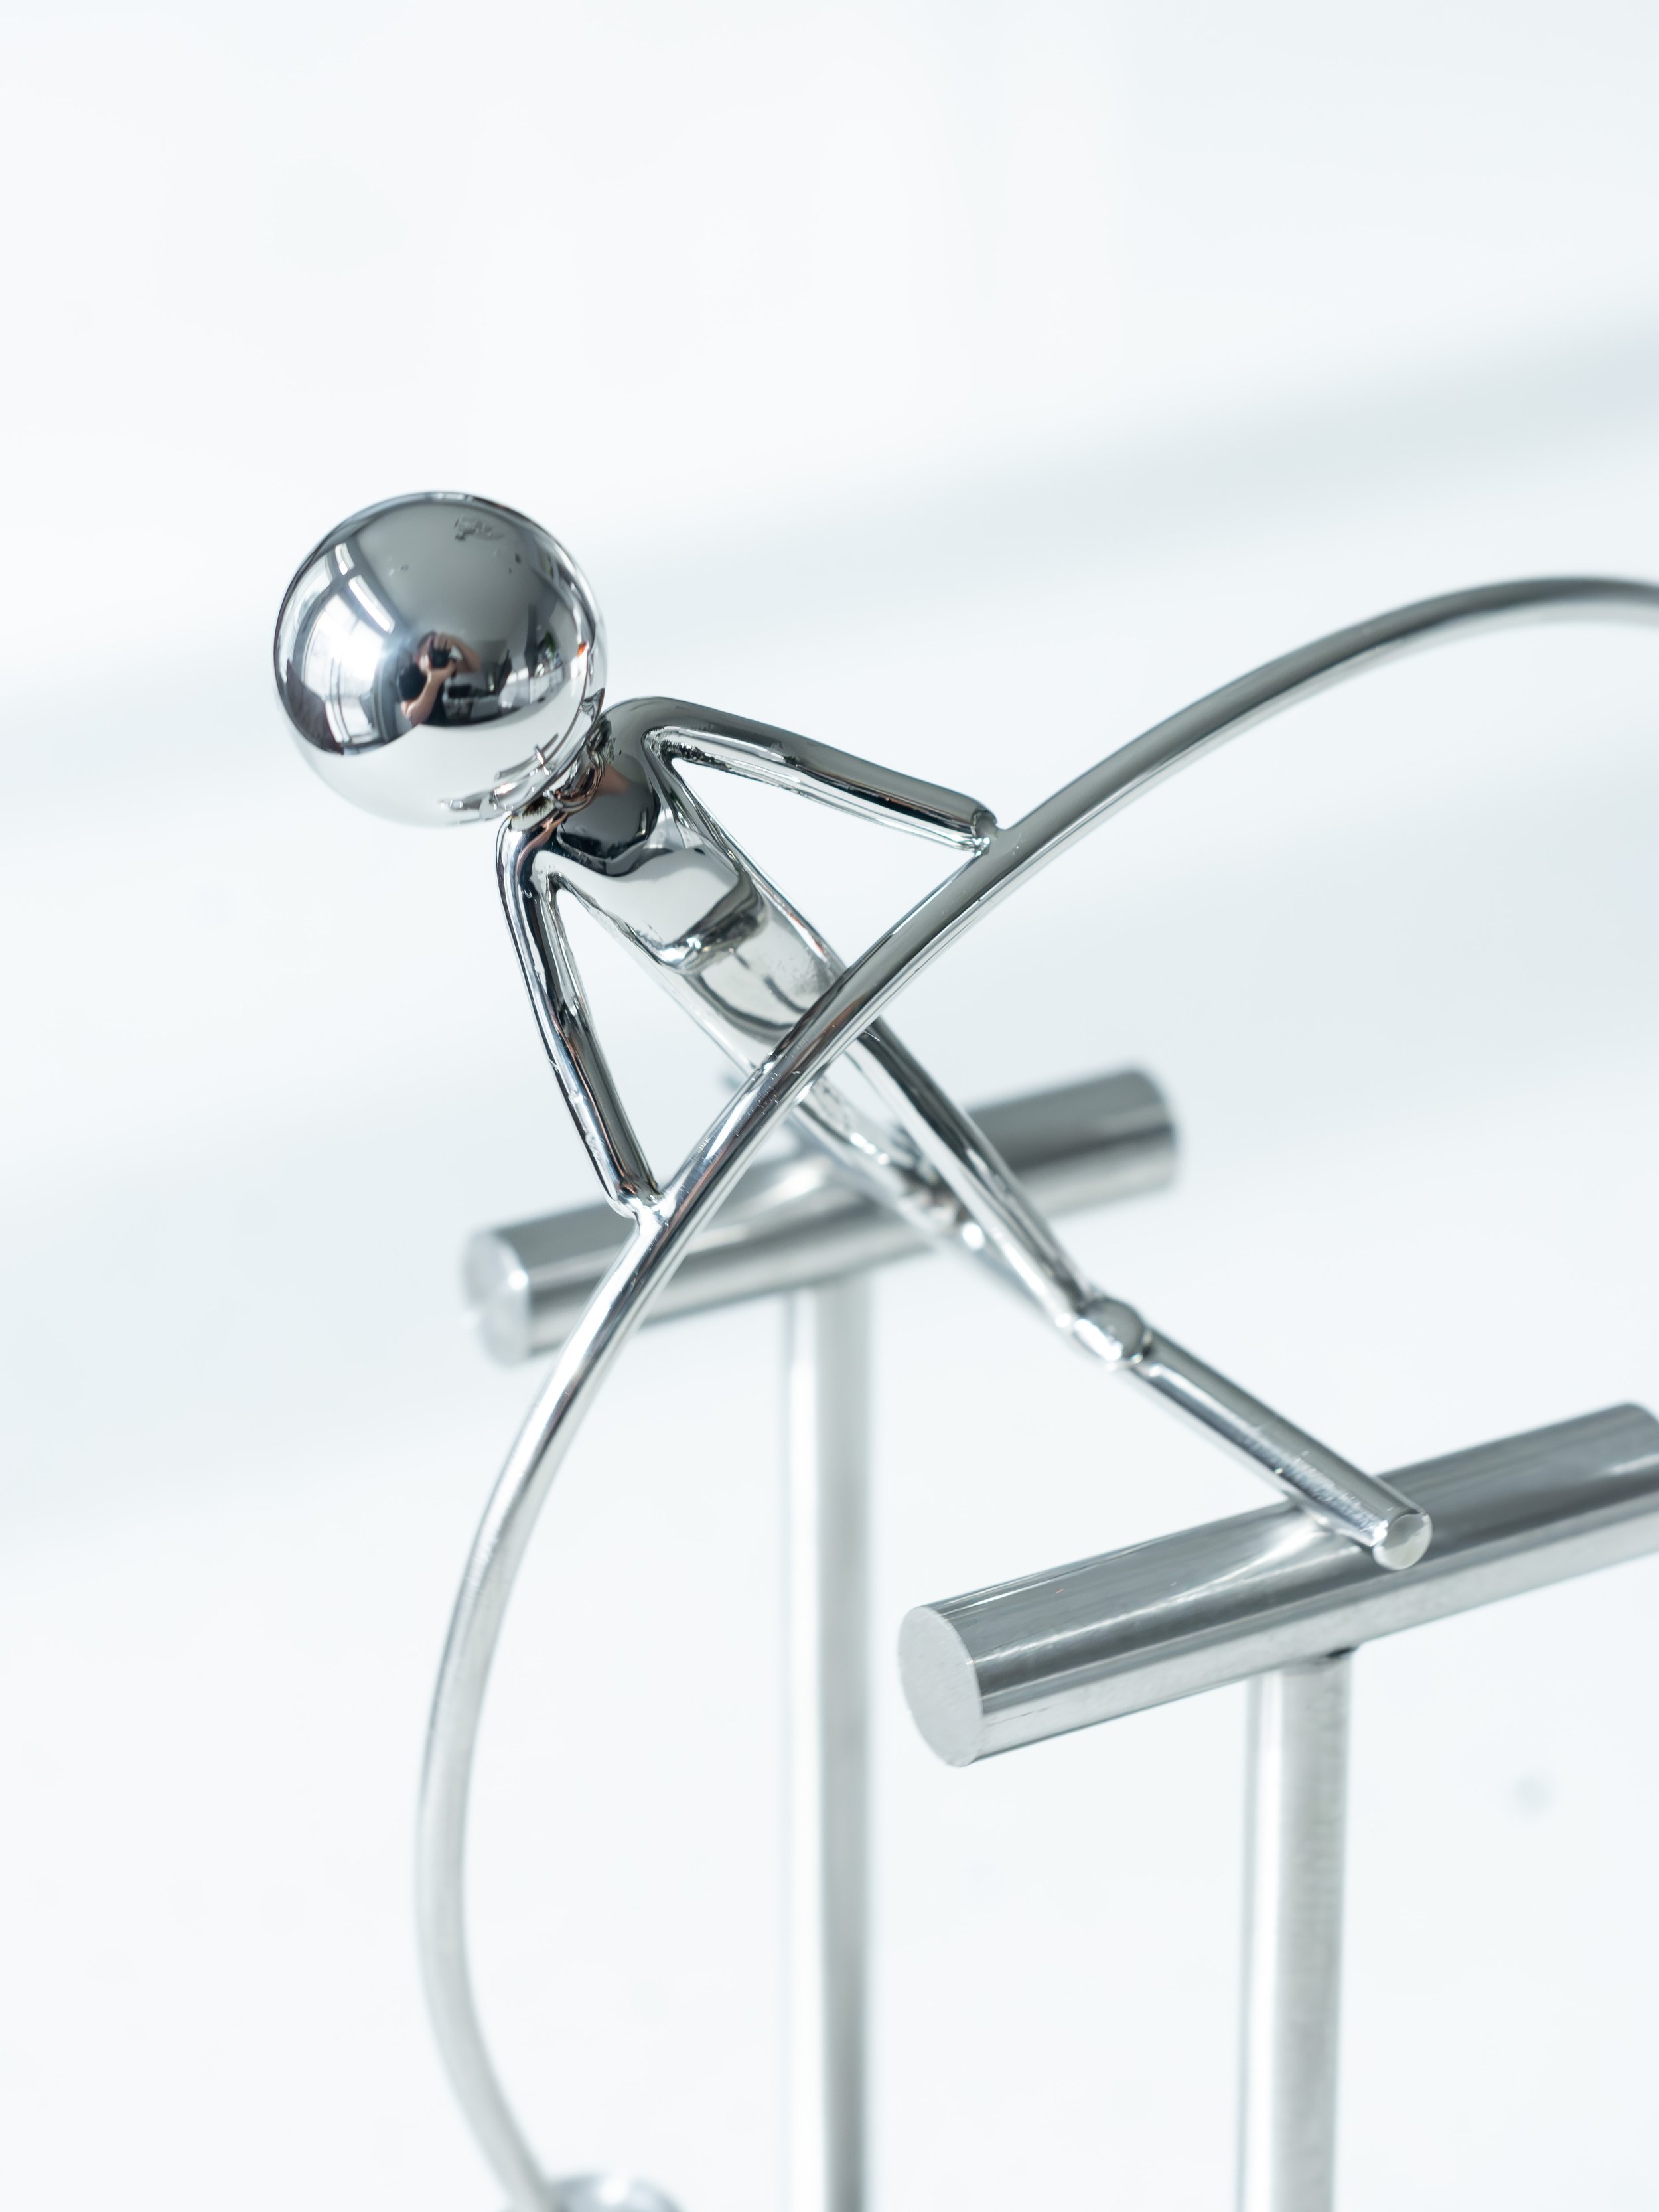
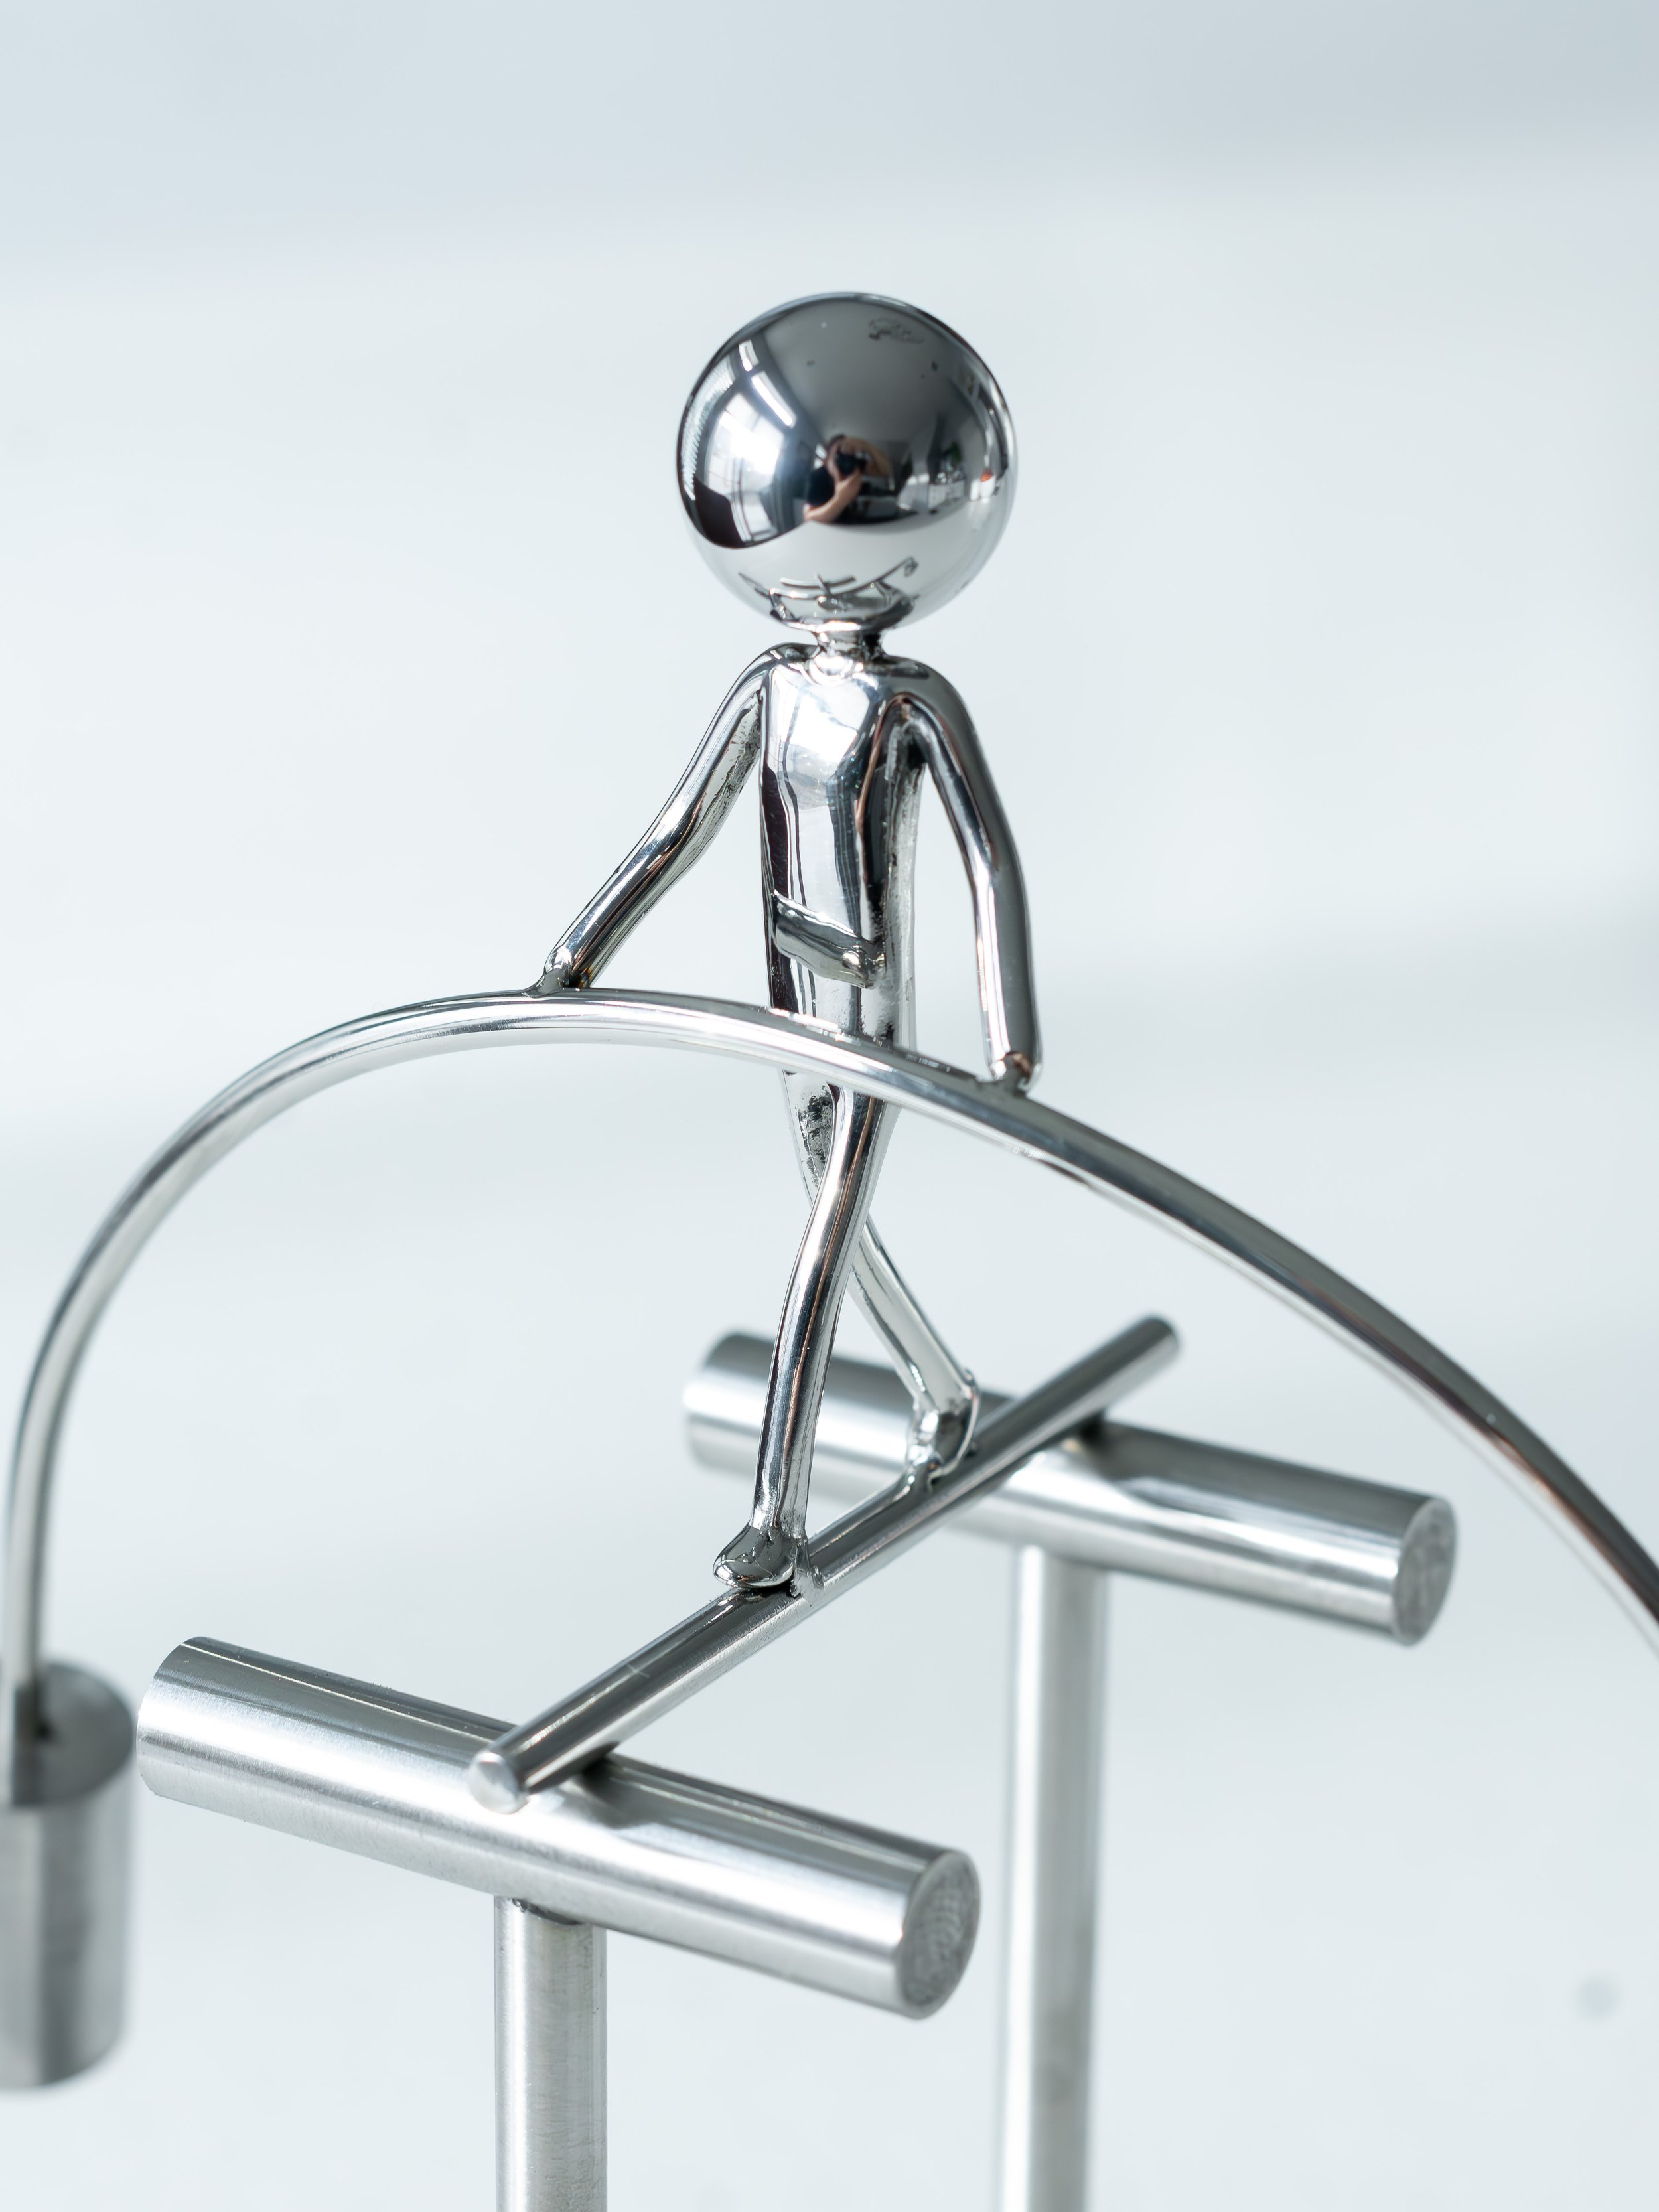
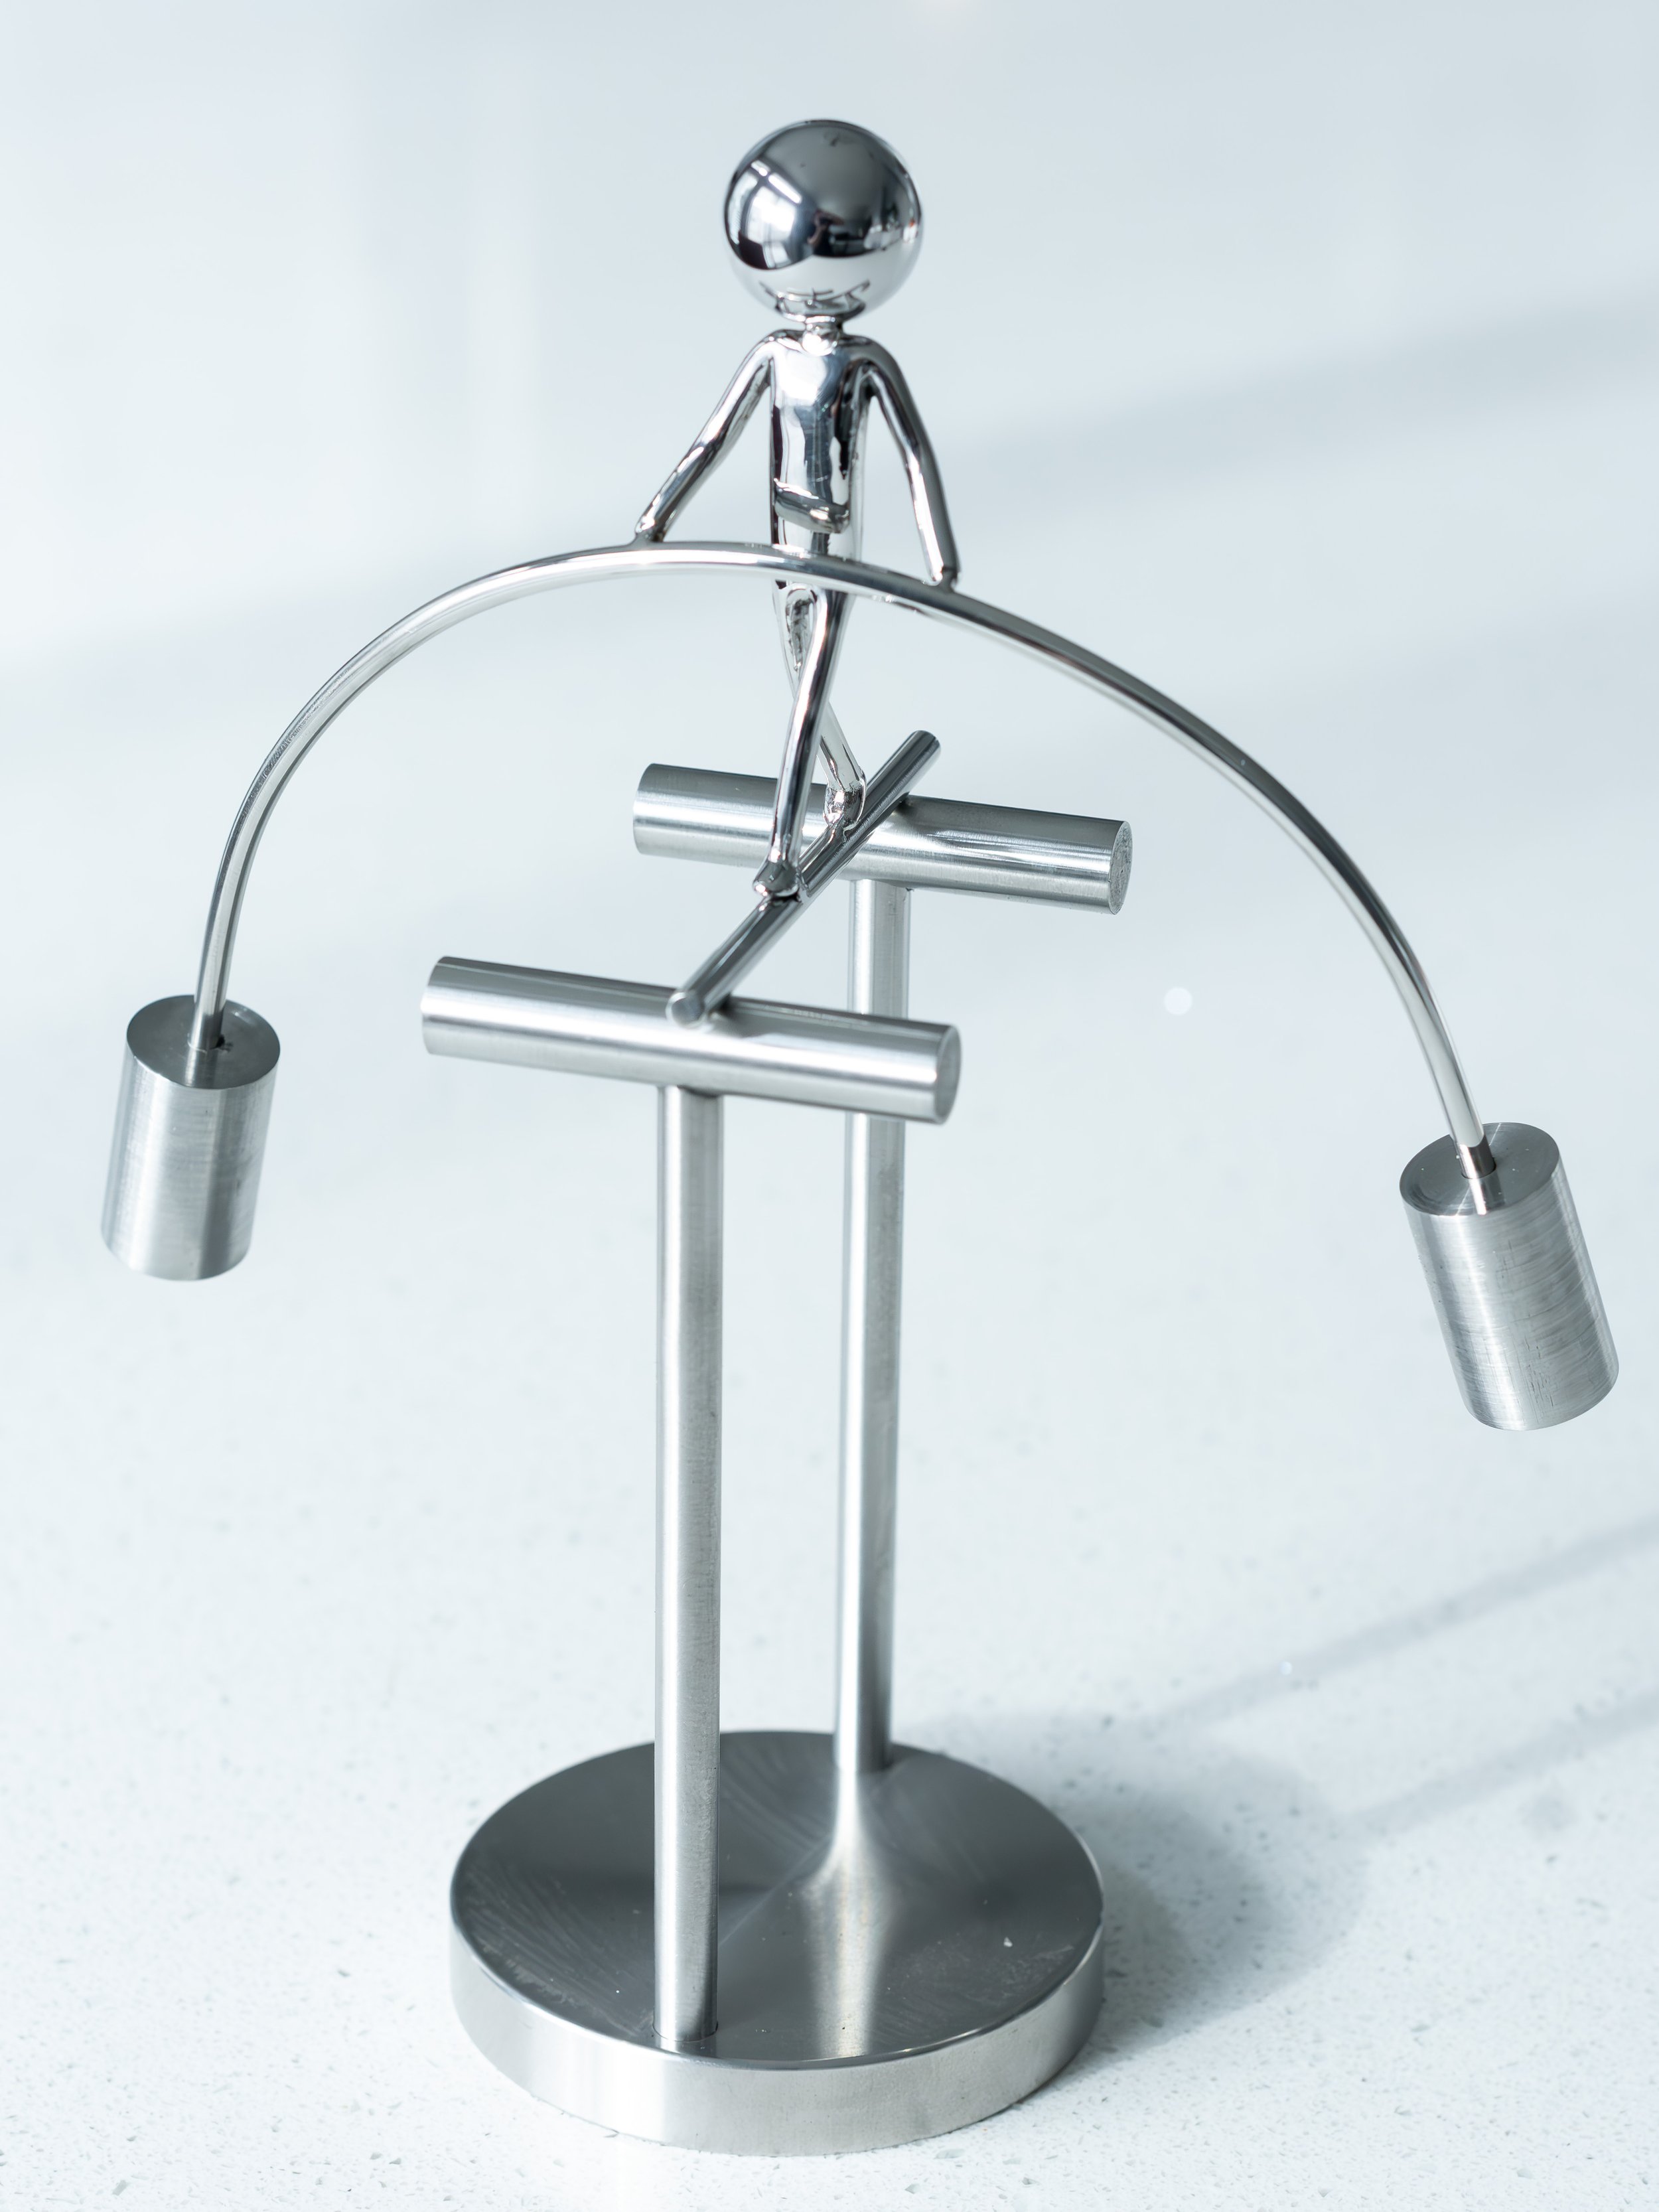
Helicopter Landing Pad
A MINI LANDING SITE FOR YOUR DESK
MOVEMENT TIME: 8+ MINUTES
PLEASE WATCH THE VIDEO BELOW TO SEE IT MOVING!
DESCRIPTION:
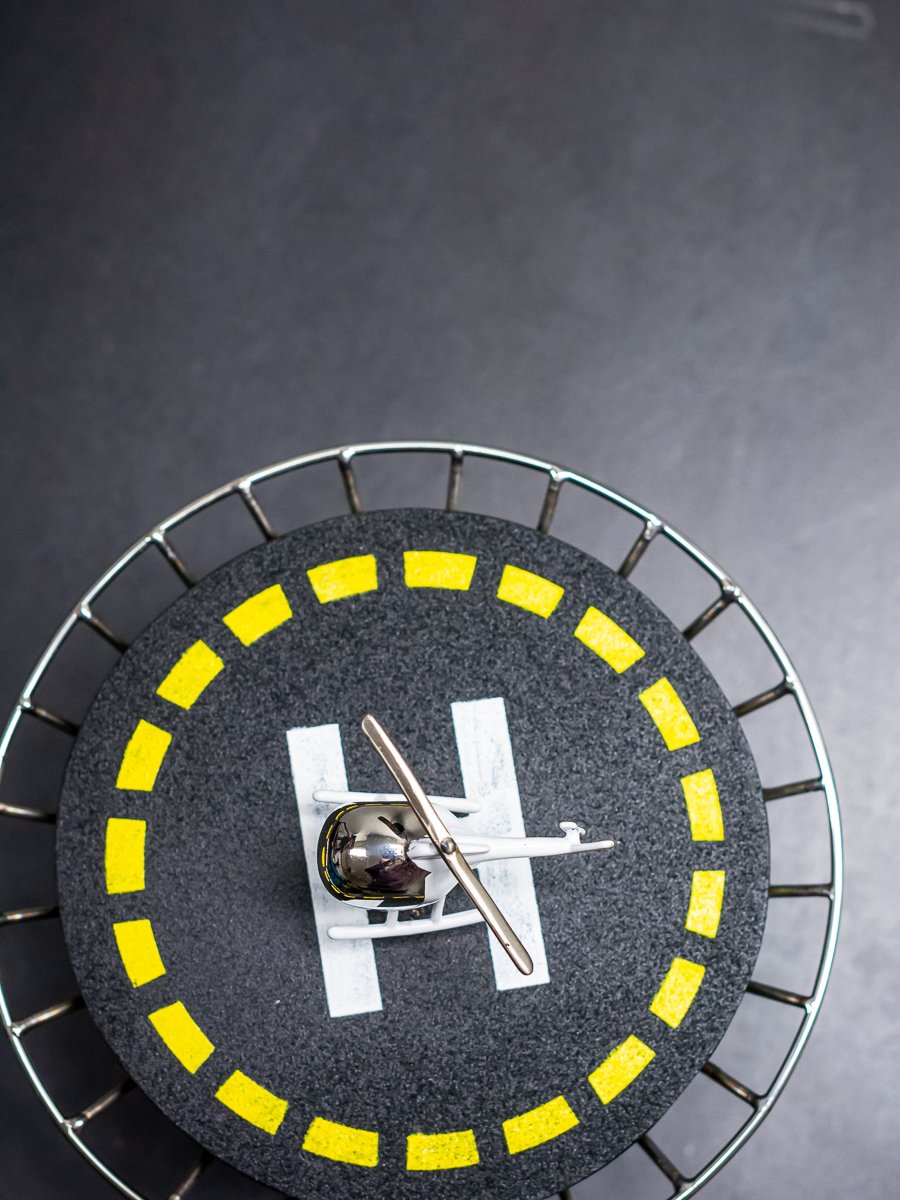
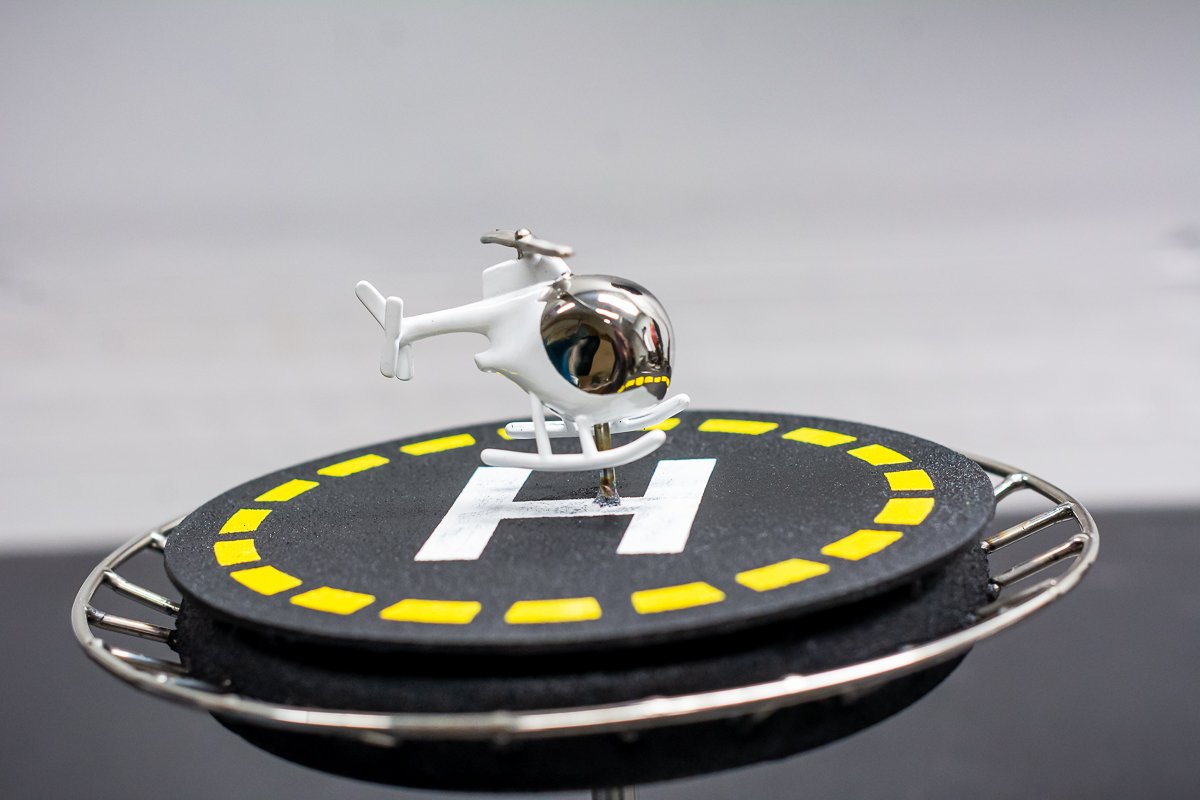
This took some effort - days of effort, in fact! The little helicopter had to first be designed, sculpted from stainless steel, refined and polished. Once the heli was made, I was then able to very carefully tape off the details of the helicopter in preparation for its glossy white powder coat. Peeling off the tape revealed the polished section to look like the wind screen. That’s just the helicopter!
Getting the landing platform built and balanced was another challenge altogether. The guard rail was tough and took a lot of time but I think adds an important level of detail! The asphalt of the landing pad is also powder coated on and has a very rough texture so it adds to the level of detail in this design. Finally, after everything was done, after it was balanced, after being cured in the oven TWICE for 400 degrees, I made a custom stencil for one last round of powder coating - the landing markings. In order to avoid getting powder over the other finished powder coat surfaces, I had to dust on more powder by hand for the stenciled landing markings. Back into the oven at 400 degrees for a THIRD time and it was finally done!
This took multiple steps, processes, tools, stages, phases, etc. Every step had to be done in the right order due to the powder coating, welding and balancing aspects!
DIMENSIONS:
HEIGHT: 7.5 inches
WIDTH (widest part of the guard railing): 7 inches
Weight: ~33 ounces

